

Known Designs & Print
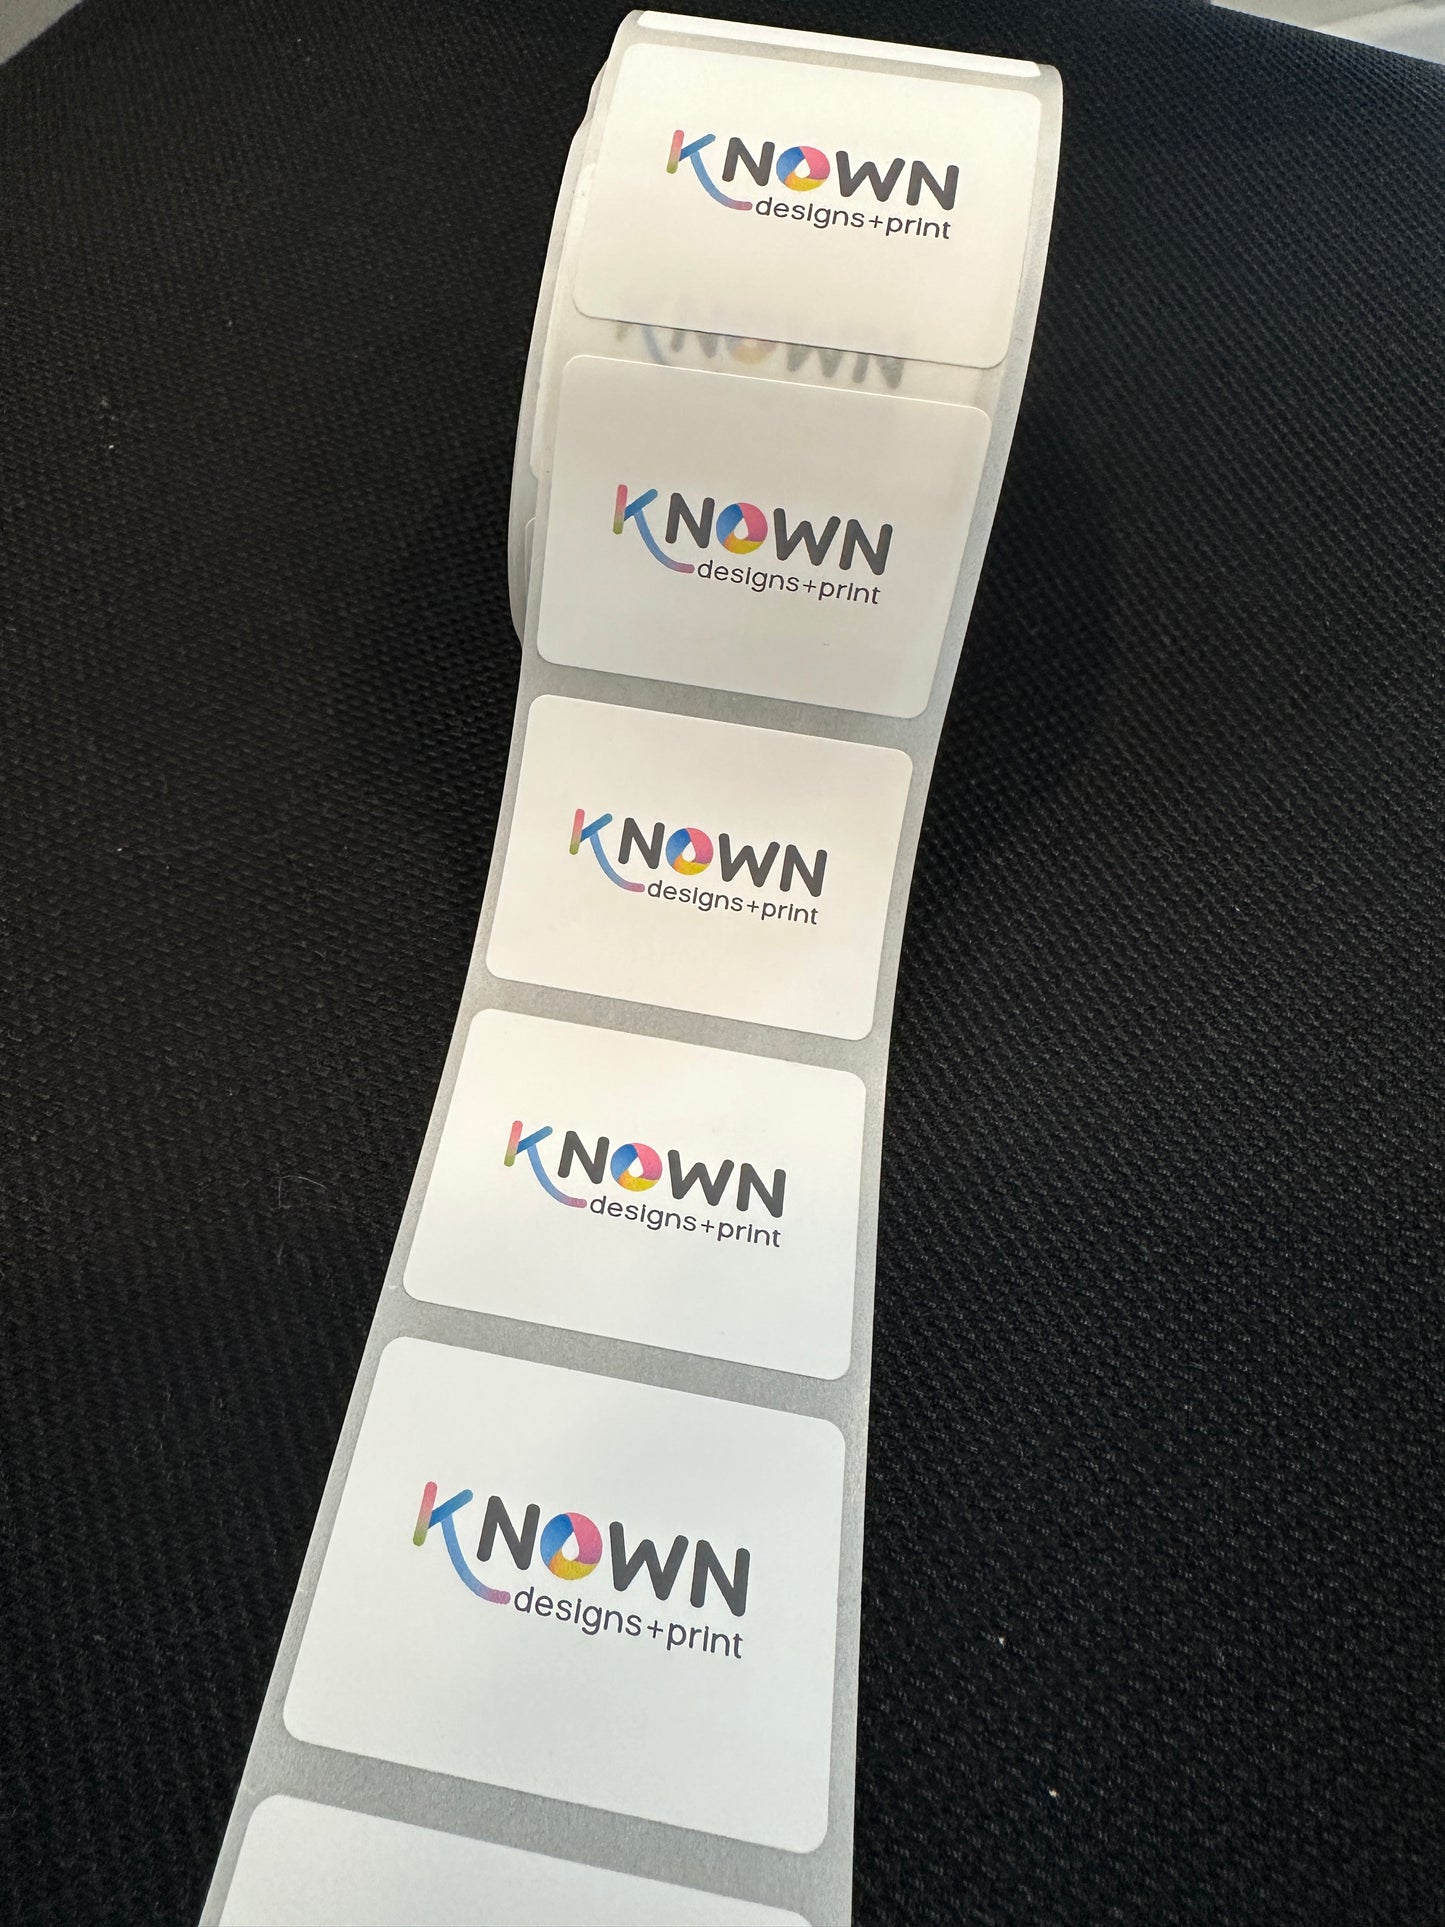
Stickers/Labels (Supplied on a Roll)
Stickers/Labels (Supplied on a Roll)
Couldn't load pickup availability
Known Designs are excited to now offer labels and stickers supplied on a roll for easy application and convenience.
Printed using high-quality Epson CMYK label printers, these stickers deliver vibrant, accurate colours and are perfect for product packaging, branding, and retail use.
Choose from a range of professional media types to suit your needs:
Paper Matt – ideal for a classic, non-reflective finish.
Paper Gloss – offers a sleek, high-shine appearance.
Synthetic Matt – durable and moisture-resistant, perfect for long-lasting or outdoor use.
Synthetic Gloss – combines the durability of synthetic stock with a bright, glossy finish for maximum impact.
Each roll is custom printed to your specifications and printed locally, right here in Australia.
For label sizes listed here, we can offer fast turn around, often dispatching same or next day. If you ideal size is not listed here, please contact us. We have access to thousands of different sized stock.

How To Print
1. Use the Right File Type
- Make sure your file is set up at the correct size for what you’re printing, and that it looks crisp - not blurry or pixelated.
-
Tip: Zoom in - if it looks fuzzy on screen, it’ll look fuzzy in print.
2. Add a little extra around the edges (Bleed)
- If your design extends all the way to the edge, add a little extra background - about 2–3mm on all sides.
- This small area (called bleed) is trimmed off when we cut your product to its final size. It helps prevent any unwanted white edges. Think of it as a safety margin - it ensures your print goes edge-to-edge cleanly.
3. Lock in your text (Outline your fonts)
- Convert your text to shapes (often called “outlining” your fonts) before uploading.
- This locks in your layout and spacing so your text looks exactly the same when we print it.
- Don’t worry - in Canva and most design programs, this happens automatically when you export as a PDF Print.
4. Use CMYK Colour Mode
- Always export your file in CMYK colour mode.
- CMYK (Cyan, Magenta, Yellow, Black) is the format our printers use, and it ensures your colours are reproduced as accurately as possible.
- RGB files are for screens - CMYK files are for print.
6. Do a final check
Before you upload, take one last look at your design:
- Check for typos and layout alignment
- Make sure no important details are near the edges
- Confirm all images are sharp and colours look correct
What you upload is exactly what we’ll print!
Printing With Canva Designs
Canva is one of the easiest ways to design your print materials, from business cards and flyers to packaging and labels. Follow these steps to make sure your Canva file is ready for professional printing.
1. Start with the Right Size
Before you start designing, set your document to the correct print size.
Use millimetres (mm) or inches, not pixels.
For example:
- Business Card → 90 × 55mm
- A5 Flyer → 148 × 210mm
- A4 Poster → 210 × 297mm
🪄 Pro tip: Search “A5” or “A4” in Canva templates to find pre-sized layouts.
2. Add Bleed
- Click File → Show Print Bleed in Canva.
- Make sure your background or design elements extend all the way past the dotted line.
- This ensures your print goes edge-to-edge without a white border.
3. Keep Text Inside the Safe Area
Don’t place important text or logos too close to the edge — leave at least 3mm margin inside the dotted safe zone.
4. Export Your File the Right Way
- When your design is ready:
Click Share → Download → PDF Print (Best for printing) - Tick Crop marks and bleed
- Click Download
This creates a high-quality file ready for printing.
Sharing Your Canva Design Link
If you’d prefer to send your Canva file directly:
- Click Share → Link
- Choose Anyone with the link → Can edit
- Copy and paste that link into the Order Notes at checkout
💬 This lets our team make small adjustments if needed to get the best print result.
Common Canva Mistakes to Avoid
- Don’t download as JPG or PNG - these are screen formats, not print.
- Don’t design in RGB - Canva automatically exports in CMYK when using PDF Print.
- Don’t forget bleed your edges might print unevenly.
Bonus Tips
- Keep your design simple - fewer fonts, stronger brand impact.
- Use bold colours and clean contrast for legibility.
- Make sure your images are sharp - Canva warns if an image is low quality.